How to Train Leave It
Before you begin, condition a marker word or a clicker before you add the cue. You should have some indicator of letting your dog know that what they did is correct and a reward is coming.
Leave it means please leave that item alone and you may never have it.
The rules:
- The reward must be equal or higher value than what you’re asking the dog to leave.
- Eye contact should be added before the cue, if you’re chaining the behaviors. If you teach eye contact first and foremost, this may not be necessary.
- The dog should not be allowed to have what you’ve asked them to leave. This prevents a “whoopsie” in an emergency, like the dog merely pausing before they grab the chicken bone in the street.
To train:
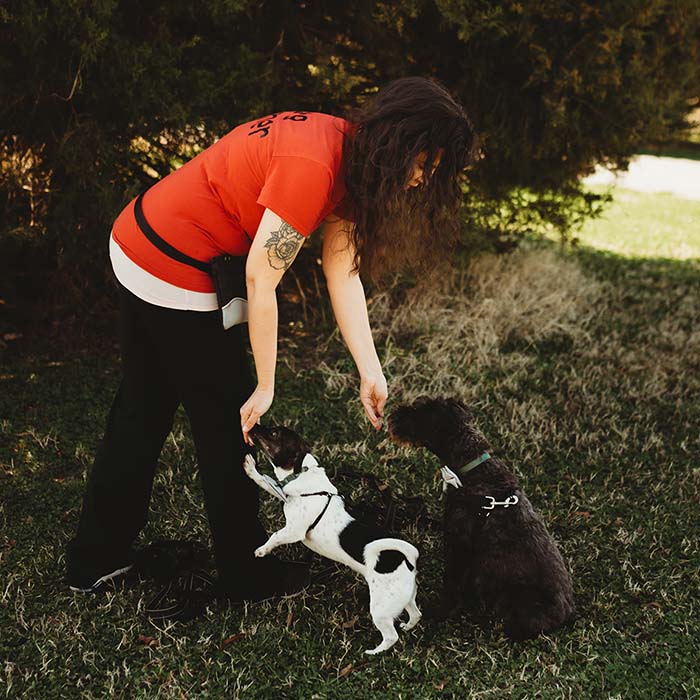
- Have treats in both hands. One is the leave it hand, with a lower value treat, and one is the reward hand, with higher value treats.
- Offer the leave it hand, at a distance best for the individual dog, and mark when they pull their head away and/or when they give eye contact.
- When that is going well, start to ask for eye contact along with leaving the hand alone or pulling their head away. Some dogs may need to be taught that eye contact is reinforced, so you may have to begin with “look” first.
Caution: It is easy for the dog (and the person) to get frustrated. This one requires precise steps and each step solid before moving forward. If your dog isn’t getting it or is frustrated, use the reward hand to prompt a head turn or try a different method. Precision timing advances this quickly, if you can mark those early, small, fast head pull-aways. Also consider holding your hand further away as you begin this cue.
After that, you can try an open hand leave it, or moving your hand to floor. The goal is to progress to dropped leave its, and I love how JW Dog Training uses other objects to generalize the cue.
Generalize: Training a dog that a cue means what they’ve been taught, regardless of location, handler, item, etc. A dog may sit in the kitchen, but struggle to sit on a walk. Often, they need to practice or rebuild the cue across a variety of situations.
Please note: Some trainers teach this as a “wait”, meaning, “hold on a moment”, and then they give the dog a release word to let them have it, like “okay” or “break” or “go”. This can be tricky, as the dog can learn that they just have to pause, look at you, and then take the thing they wanted. Some trainers either don’t reward from that hand, or they use their other hand to hand deliver the treat, which helps the dog understand the reward comes from the handler, not the pile or item or hand they were asked to leave.
In case of emergency, offer a trade with a super high-level item, and start practicing before the emergency, if possible. It is best to remain calm if you can.
Additional Resources
Breaking down leave it basics from JW Dog Training:
Important note here: Juliana does NOT release the dog to eat the treat. She uses the same treat that she asks the dog to leave, but she uses her other hand for mouth delivery.
Real life example of using leave it off-leash from JW Dog Training:
Leave it in the wild with resource guarding from Tails of Connection:
JW Dog Training has great videos in general, and Tails of Connection also has some good articles on it. KikoPup on YouTube has a more complex version of leave it that requires leash pressure and attention games, but may be worth a look.
Want more life-saving cues? See the Drop It article here, and the Come article here. Would it be helpful to see me trying out different methods? Let me know on Instagram at TelltailDog or via email at info@telltaildogtraining.com.


